Having consistent and high quality before and after photos are absolutely essential for any medical practice. With digital users reading less and less these days, the old saying of, “a picture is worth a 1,000 words” could not be more true. Having great before and after photos that are consistent can push a user to contact you, but with poor before and after photos, odds are that the user will not contact you. And why should they? If you’re presenting inconsistent photos of you’re work, how can a user trust you to be consistent with their surgery?
In this post, we’ll give you a few tips on how to take great before and after photos that will accurately represent your work and help users convert on your website into coming in for a consultation.

Tip #1: Invest in a high-resolution camera
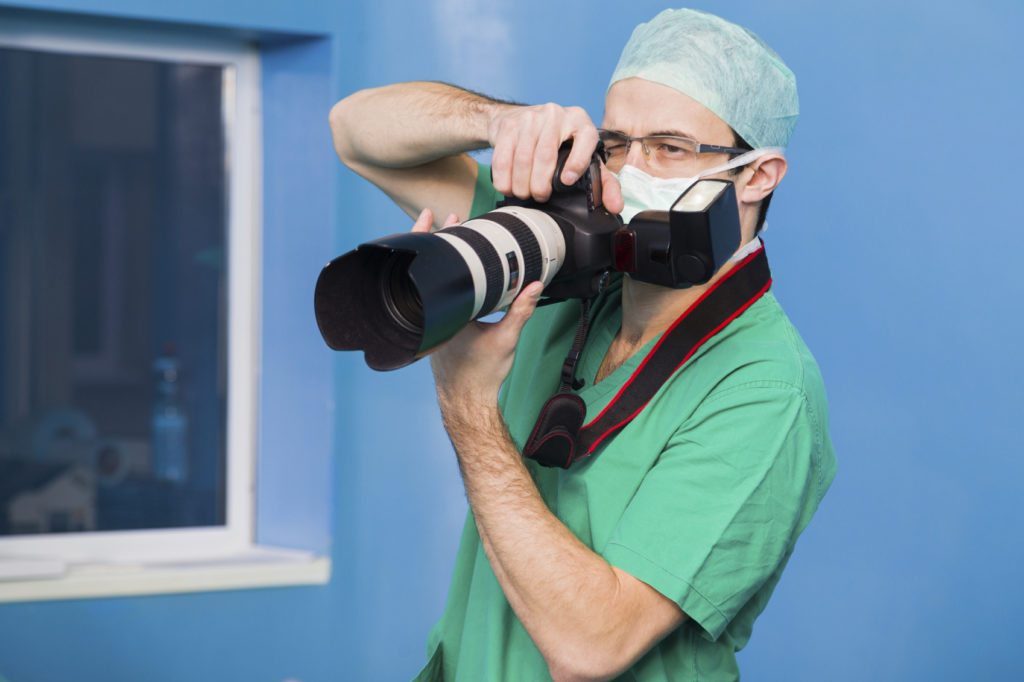
While the iPhone has come a long way with it’s camera, it is not the ideal thing you should be using for your before and after photos. You want a camera that can produce the highest quality image possible. A DSLR camera is going to be your best option for getting high quality photos.
Here are some examples of the cameras you can buy for your photos:
Canon EOS Rebel T7
Canon Rebel T6S
For those of you that take photography a bit more serious, check out these cameras:
Canon R
Canon EOS-6D
Tip #2: Make sure you’re taking photos in the exact same location
Once you’ve selected where you’re going to take your before and after photos, take a few test shots to see how they come out. Once you have the right distance for your photo, mark the spots on the floor where your camera will go as well as where the patient should stand. It’s an easy trick to make sure all of your photos are consistent.
Once you have your spot picked out, use a tripod to shoot consistent photos of patients. Avoid zooming in and out of the photos, keep your main subject in the picture frame, and have your patients turn 360 degrees to show all angles and perspective of the procedure.
Tip #3: Make sure the lighting is perfect and consistent in your photos
Lighting is one of the most important things for photography. With poor lighting, how are potential patients going to see the amazing work you’ve done? Make sure that your photo area is well lit so all of the details of the surgery you performed are easily visible.
Tip #4: Make sure the patient is at the same angle in the before and after photos
This one should be a no-brainer. A true before and after photo is shot at the exact same angle for each photo. Don’t have your patient provide a front view shot for the before photo and then shoot a 3 quarters angle for the after. It makes no sense and will come across poorly on your website. You want to make sure that the angle your shooting the photos shows off your work, so take a few minutes to make sure you’re getting exactly what you want.
Tip #5: Edit out unnecessary components of the image
THIS DOES NOT MEAN EDIT OUT SCARS OR ANYTHING RELATED TO SURGERY! Scars and any after effects of surgery need to be shown or you will presenting unrealistic images on your site, which can lead to all kinds of trouble. What we’re talking about here are things like tattoos and IV’s. If your patient had an IV in their arm in the photos, edit it out. It’s not important to the photo and may distract the user from your work. Tattoos are identifying marks and should be edited out to protect patient anonymity. Tattoos , like IV’s, also can distract users from your work.
These tips are the easiest way to take great before and after photos. Before and after photos are a great way to show off your work and have potential patients contact you, so spend some time to make sure you have the setup right. The last thing you want to portray in your before and after galleries is a pattern of inconsistency.
As always, if you have questions about the setup of your before and after photos, do not hesitate to contact us at (909) 395-3615 and we will be more than happy to offer advice on how to take great before and after photos that truly show off your work.


